Product docs and API reference are now on Akamai TechDocs.
Search product docs.
Search for “” in product docs.
Search API reference.
Search for “” in API reference.
Search Results
results matching
results
No Results
Filters
Guides - Manage VPCs
A virtual private cloud enables private communication between Compute Instances, isolating your network traffic from other customers and the internet.
View VPCs
Log in to Cloud Manager and select VPC in the sidebar. If any VPCs exist on your account, they are listed on this page.


Each VPC is listed along with the region it is located within, its ID, the number of subnets, and the number of Compute Instances that are assigned.
Review and Edit a VPC
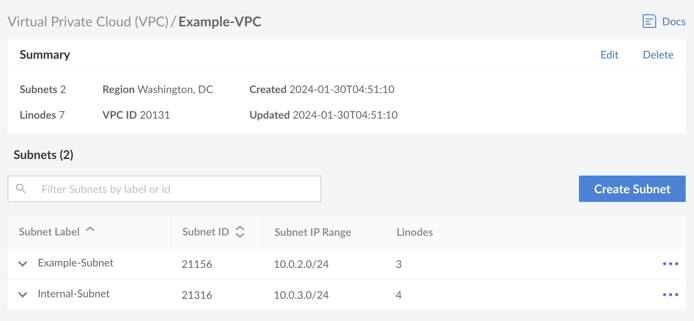
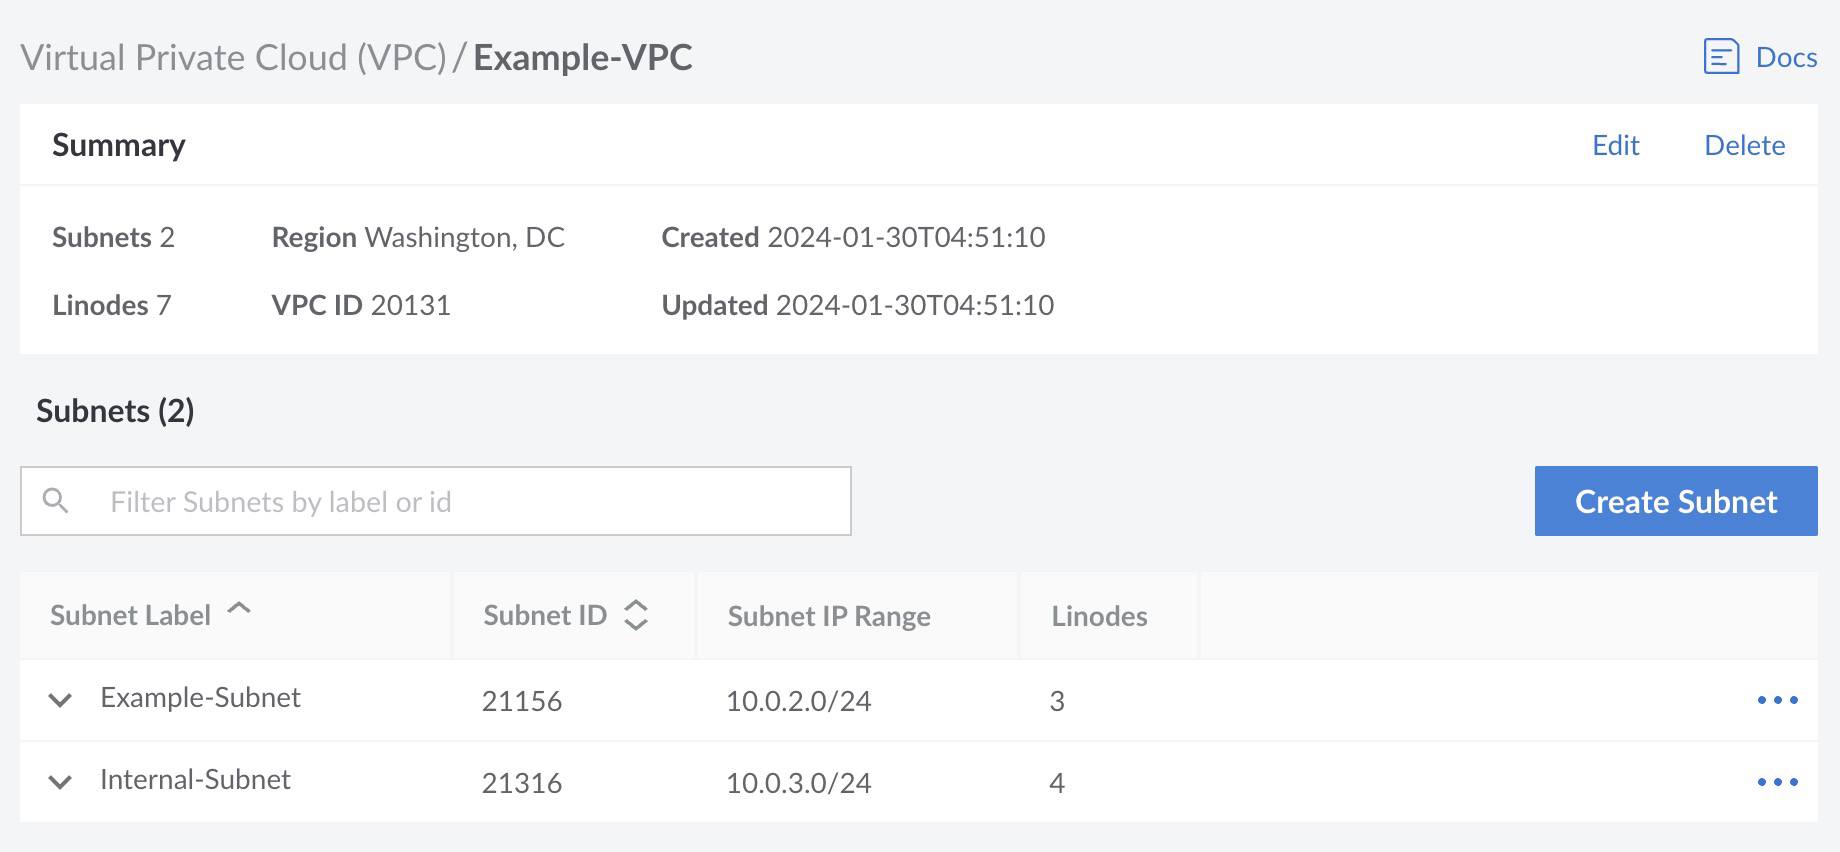
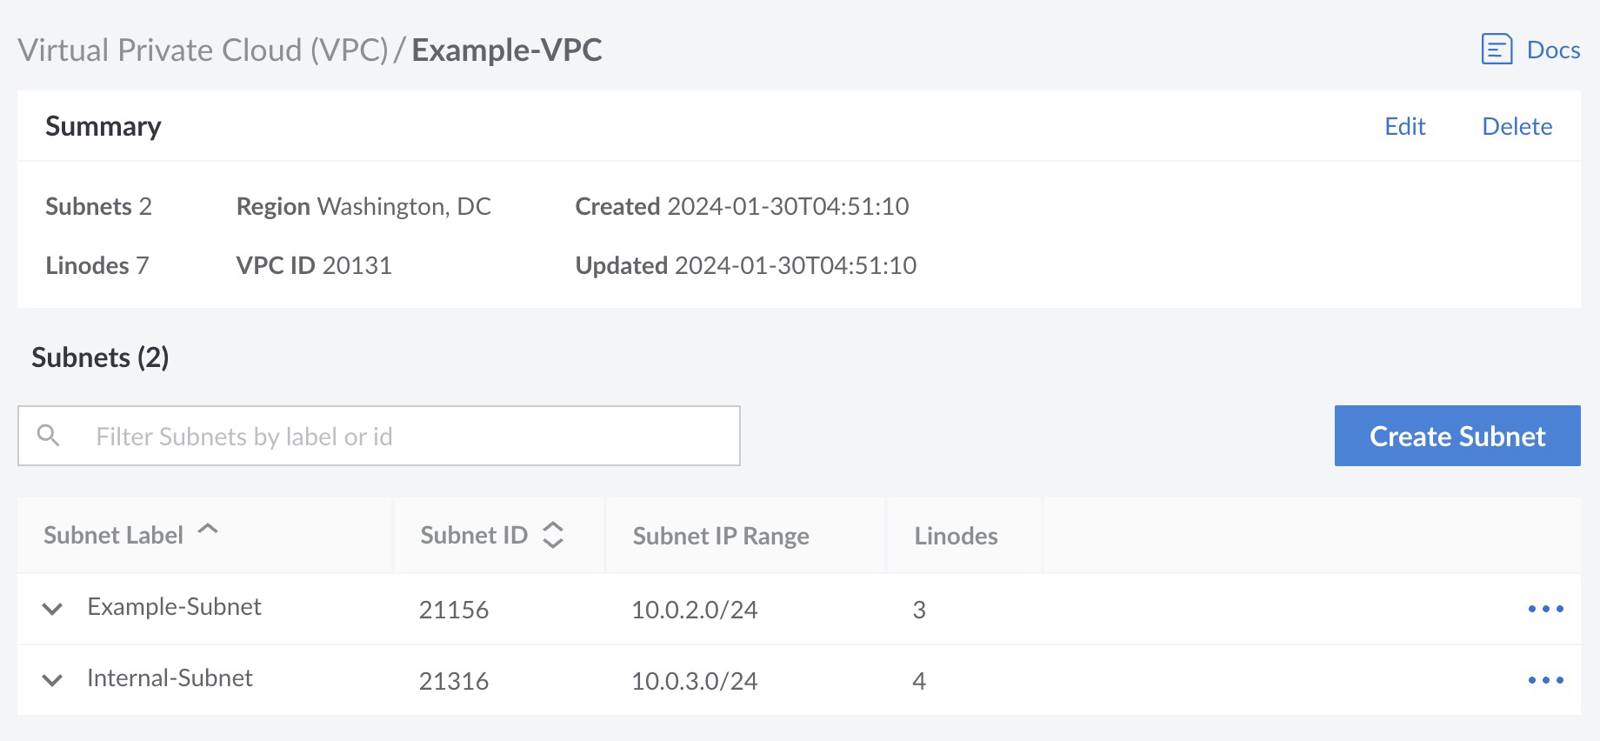
Navigate to the VPCs page in Cloud Manager and locate the VPC you wish to edit. See View VPCs . Click the name of the VPC to be taken to its details page.


This displays the summary of the VPC along with a list of subnets within the VPC. To edit the VPC label or description, click the Edit button within the Summary section. The data center assignment cannot be changed. Once a VPC has been created, you cannot move it to a different data center.
Create a VPC
To add a new VPC on your account, follow the Create a VPC instructions.
Delete a VPC
A VPC can be deleted using the Delete button next to the VPC you wish to delete on the main VPC page. It can also be deleted when viewing that VPCs details page by clicking the Delete button within the Summary section.
Only a VPC without any Compute Instances assigned can be deleted. Review the Remove Compute Instances from a VPC workflow if any Compute Instances are currently assigned.
This page was originally published on


