Product docs and API reference are now on Akamai TechDocs.
Search product docs.
Search for “” in product docs.
Search API reference.
Search for “” in API reference.
Search Results
results matching
results
No Results
Filters
Deploy HashiCorp Nomad Clients Cluster through the Linode Marketplace
Quickly deploy a Compute Instance with many various software applications pre-installed and ready to use.
The HashiCorp Nomad Clients Cluster deploys 3, 5 or 7 Compute Instances as clients to horizontally scale an existing HashiCorp Nomad Cluster. The plan type and size you select is applied to each individual instance.
See our guide on deploying a HashiCorp Nomad Cluster if you have not already deployed a cluster.
Deploying a Marketplace App
The Linode Marketplace lets you easily deploy software on a Compute Instance using Cloud Manager. See Get Started with Marketplace Apps for complete steps.
Log in to Cloud Manager and select the Marketplace link from the left navigation menu. This displays the Linode Create page with the Marketplace tab pre-selected.
Under the Select App section, select the app you would like to deploy.
Complete the form by following the steps and advice within the Creating a Compute Instance guide. Depending on the Marketplace App you selected, there may be additional configuration options available. See the Configuration Options section below for compatible distributions, recommended plans, and any additional configuration options available for this Marketplace App.
Click the Create Linode button. Once the Compute Instance has been provisioned and has fully powered on, wait for the software installation to complete. If the instance is powered off or restarted before this time, the software installation will likely fail.
To verify that the app has been fully installed, see Get Started with Marketplace Apps > Verify Installation . Once installed, follow the instructions within the Getting Started After Deployment section to access the application and start using it.
Configuration Options
- Supported distributions: Ubuntu 22.04 LTS
- Recommended plan: Nomad clients can be of any size.
- Region: The region you select should be the same as your existing Nomad Cluster.
") within any of the App-specific configuration fields, including user and database password fields. This special character may cause issues during deployment.Nomad Client Options
Linode API Token (required): Your API token is used to deploy additional Compute Instances as part of this cluster. At a minimum, this token must have Read/Write access to Linodes. If you do not yet have an API token, see Get an API Access Token to create one.
Limited sudo user (required): A limited user account with sudo access is created as part of this cluster deployment. Enter your preferred username for this limited user. The password is automatically created.
consul_nomad_autojoin_token generated by Nomad Server OCC (required): This token is generated by the HashiCorp Nomad Cluster deployment and can be found in the
~/.deployment_secrets.txtfile created in your original cluster.cluster_uuid (required): This is the tag applied to the HashiCorp Nomad Cluster deployment and can be found in the
~/.deployment_secrets.txtfile created in your original cluster or in Cloud Manager.Add Account SSH Keys to All Nodes? If you select yes, any SSH Keys that are added to the root user account (in the SSH Keys section), are also added to your limited user account on all deployed Compute Instances.
Nomad Client Count: Select the preferred number of additional cluster clients from the available options (3, 5 or 7).
Getting Started after Deployment
Accessing the Nomad Web UI
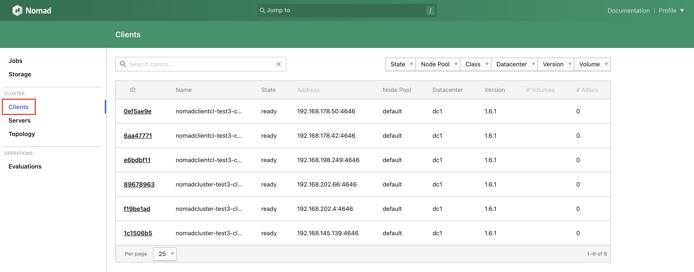
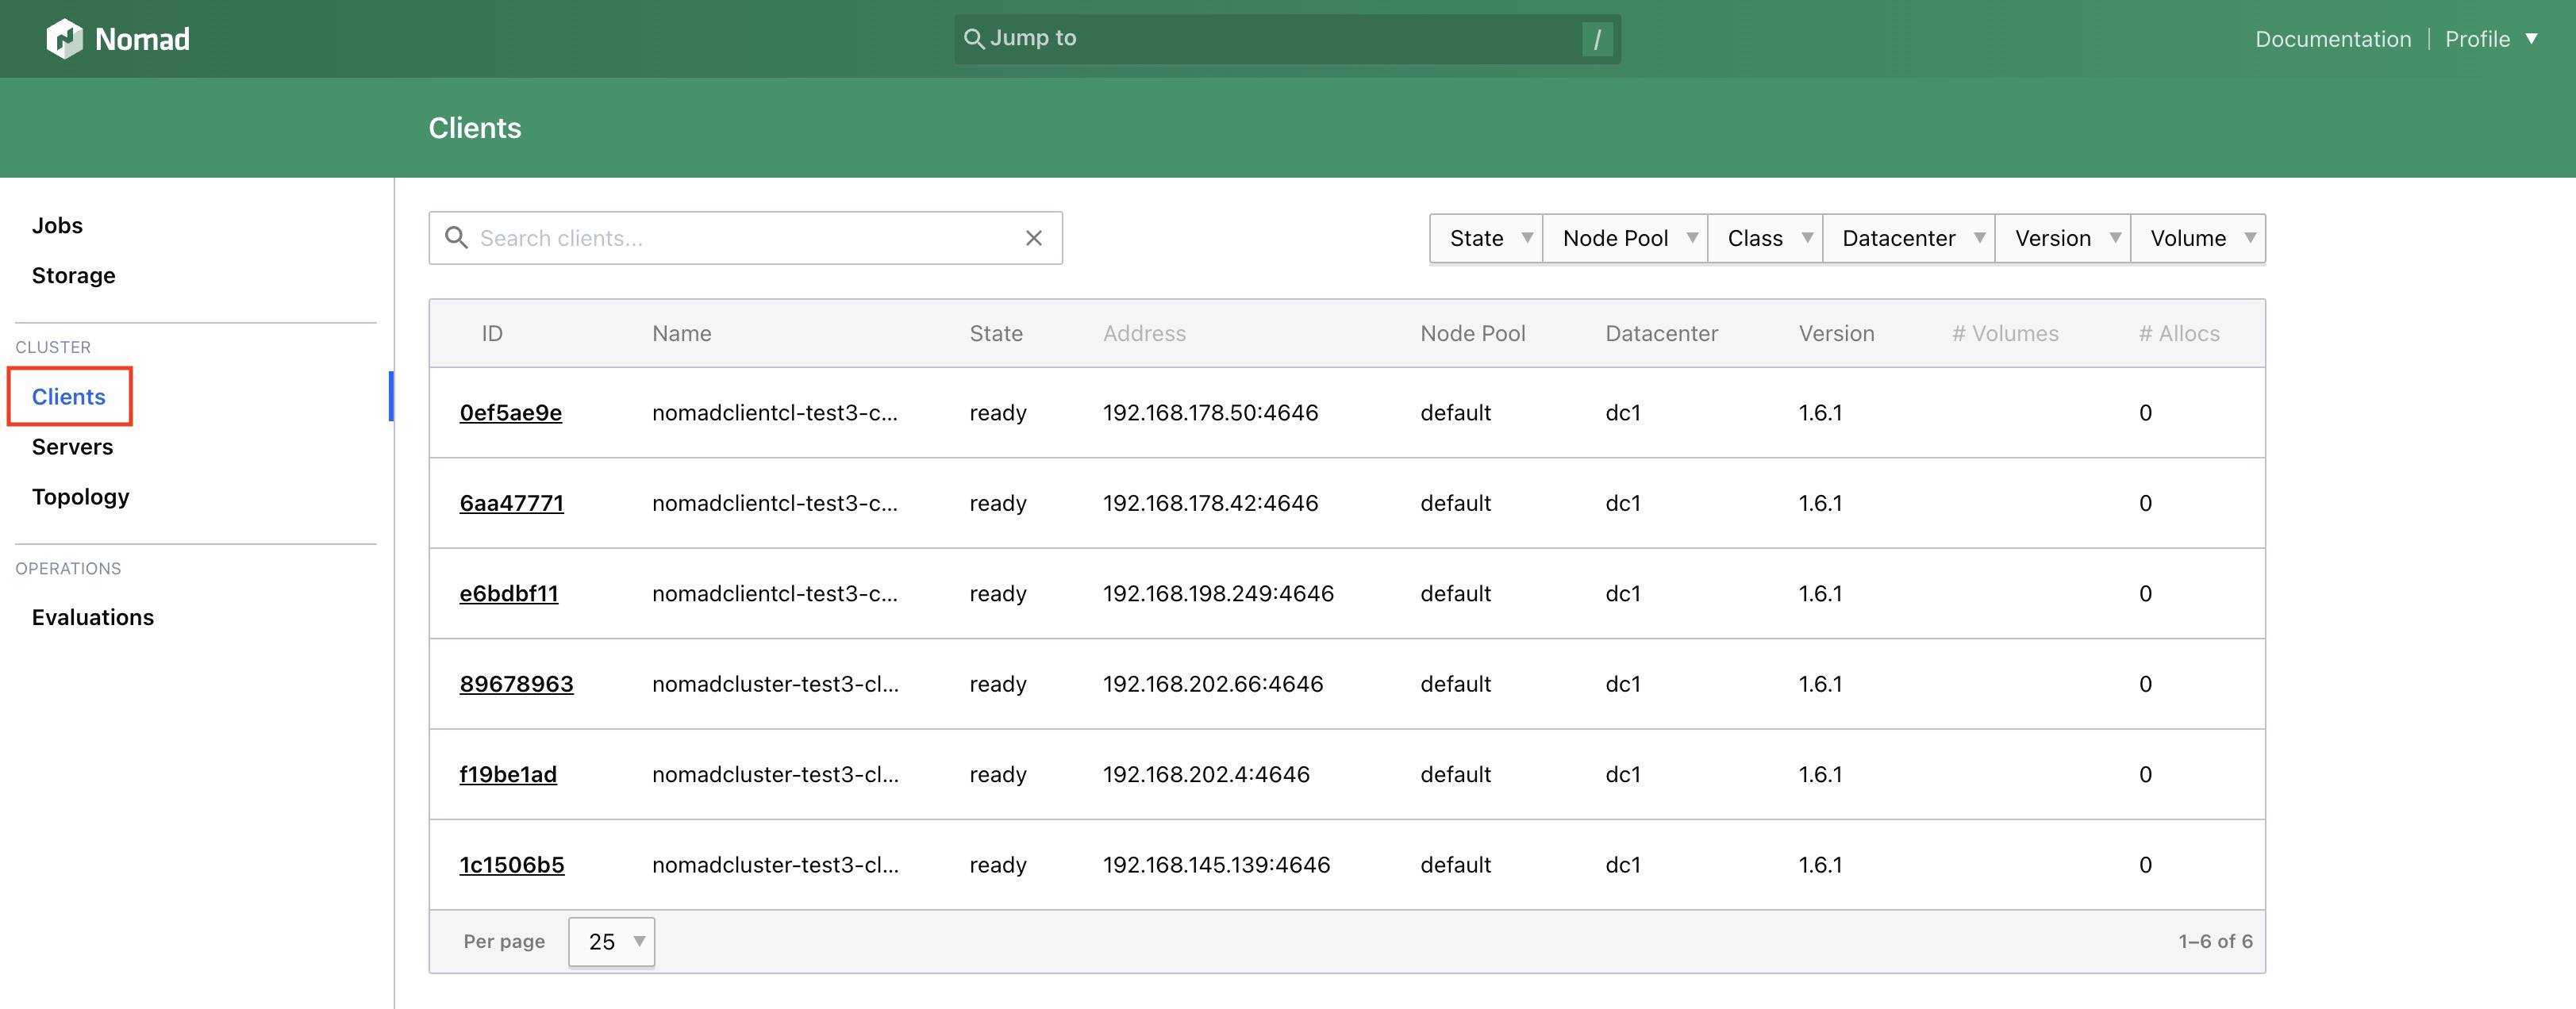
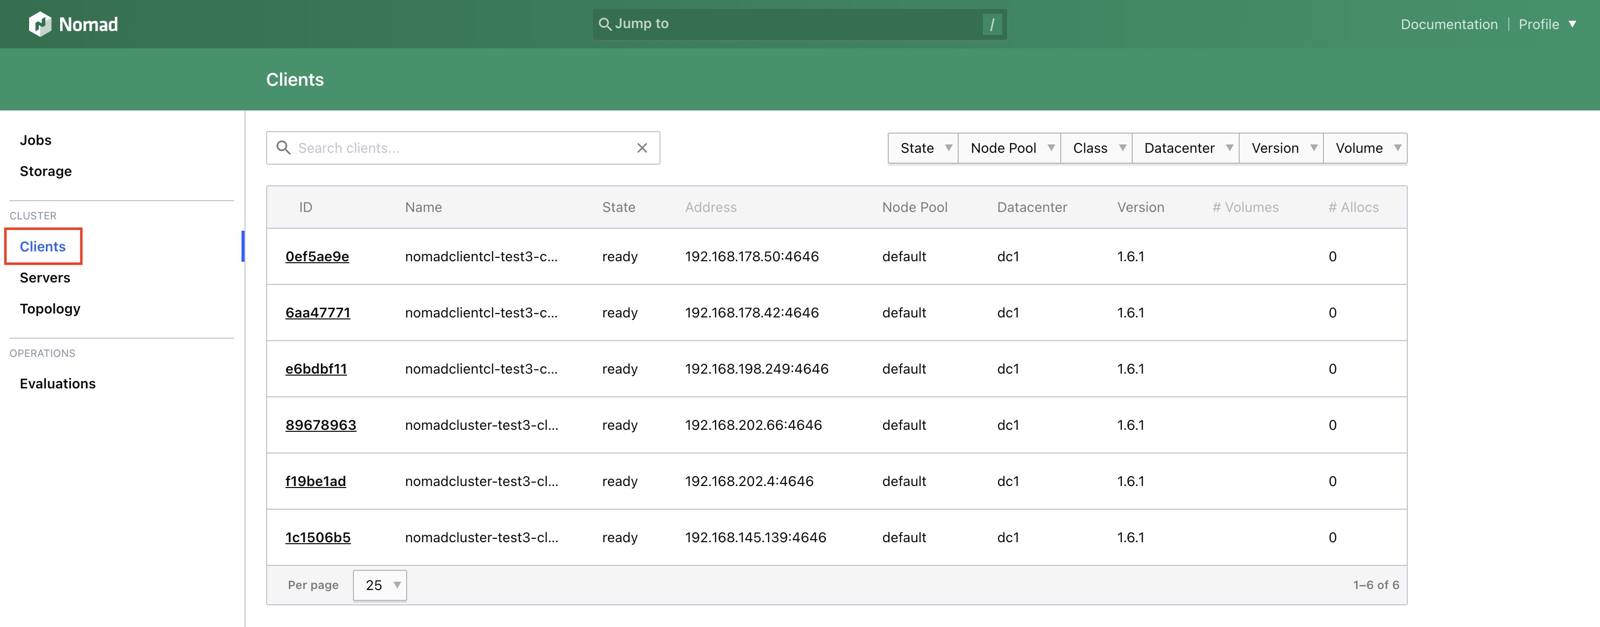
After deployment, you can confirm your clients have been successfully added to your cluster by logging in to the Nomad Web UI and selecting Clients on the left sidebar. Nomad clients are not interacted with directly.


Please see HashiCorp Nomad Cluster for information on accessing the Nomad Web UI and managing your cluster.
This page was originally published on

