Product docs and API reference are now on Akamai TechDocs.
Search product docs.
Search for “” in product docs.
Search API reference.
Search for “” in API reference.
Search Results
results matching
results
No Results
Filters
Oracle 10g Express Edition on Ubuntu 10.10 (Maverick)
- Deprecated guides:
- Ubuntu 9.10
- Ubuntu 10.04
- Debian 6
- Debian 5
Traducciones al EspañolEstamos traduciendo nuestros guías y tutoriales al Español. Es posible que usted esté viendo una traducción generada automáticamente. Estamos trabajando con traductores profesionales para verificar las traducciones de nuestro sitio web. Este proyecto es un trabajo en curso.
DeprecatedThis guide has been deprecated and is no longer being maintained.
Oracle 10g is a robust, enterprise-grade relational database management system (RDBMS). The Oracle database platform was the first commercially available SQL-based DBMS, and is a great choice for applications that require large, distributed databases. This guide will help you get started with Oracle 10g XE (Express Edition) on your Ubuntu 10.10 (Maverick) Linode.
It is assumed that you’ve followed the steps outlined in our Setting Up and Securing a Compute Instance . All configuration will be performed in a terminal session; make sure you’re logged into your Linode as root via SSH.
Please note: Depending on the amount of memory your Linode has, Oracle may require up to a 1,024 MB swap partition. While we normally do not advise using a swap partition larger than 256 MB, in this case it’s a good idea to resize your existing swap to 1,025 MB before proceeding with Oracle installation (the extra MB avoids differences in how megabytes are calculated).
To do this, log into the Linode Manager and shut down your Linode. Once your Linode is completely shut down, click the swap disk under the “Disks” heading in the Dashboard. Then change the size to 1,025 MB. If you’re already using all of your allocated disk space, you may need to shrink your main disk first to accommodate the larger swap image.
Configure Networking and Set the Hostname
Oracle is very picky about the system hostname with respect to what interfaces it will listen on. You’ll be using a private IP on your Linode and setting the hostname a bit differently than usual to account for this, with the added benefit of being able to connect to your Oracle database from other Linodes in the same data center.
First, make sure your Linode has a private IP address assigned to it. To do so, visit the Networking tab in the Linode Cloud Manager. If you need to add a private IP, reboot your Linode after doing so before proceeding with the next step.
Edit your network interfaces file to define your public and private IPs. Change the values shown below to match your Linode’s network configuration, paying special attention to the subnet mask for the private IP.
- File: /etc/network/interfaces
 1
 2
 3
 4
 5
 6
 7
 8
 9
10
11
12
13
auto lo iface lo inet loopback auto eth0 iface eth0 inet static address 69.164.198.62 netmask 255.255.255.0 gateway 69.164.198.1 auto eth0:0 iface eth0:0 inet static address 192.168.146.68 netmask 255.255.128.0
Make sure your /etc/hosts file contains valid entries. You can use the following example for reference; substitute your Linode’s IP addresses and hostname information for the values shown below.
- File: /etc/hosts
1
2
3
127.0.0.1 localhost.localdomain localhost 69.164.198.62 saturn.example.com saturn 192.168.146.68 oracle
Issue the following commands to set the system hostname:
echo "oracle" > /etc/hostname
hostname -F /etc/hostname
Although you’d normally set the system hostname to the short version of its fully qualified domain name, in this case it should be set to “oracle” to avoid issues with database connections. To complete network configuration, issue the following command:
ifdown -a && ifup -a
You can use the ip addr show command to verify your network interfaces. If everything looks correct, you may proceed to Oracle installation.
Install Required Software
Add the Oracle GPG Key and Update Repositories
Installing the Oracle XE GPG key ensures that you will get verified Oracle software packages from apt. Issue the following command to import the key:
wget http://oss.oracle.com/el4/RPM-GPG-KEY-oracle -O- | apt-key add -
Add the following repository to your /etc/apt/sources.list file:
- File: /etc/apt/sources.list
1deb http://oss.oracle.com/debian unstable main non-free
Since you added a new repository, issue the following commands to update your package lists and install any outstanding updates:
apt-get update
apt-get upgrade
Install Oracle XE
Install Oracle XE by running the following command:
apt-get install oracle-xe
After the installation has finished, you must configuration Oracle by issuing the following command:
/etc/init.d/oracle-xe configure
You will be asked to specify a system user password and the ports you would like Oracle to listen on. You may leave the port options at their default values. Reboot your Linode to make sure everything comes back up correctly. Once you’ve logged back in via SSH, you can verify that the Oracle listener process is functioning correctly by issuing the following command:
netstat -an | grep 1521
You should see output resembling the following:
tcp        0      0 0.0.0.0:1521            0.0.0.0:*               LISTEN
tcp        0      0 192.168.146.68:38803    192.168.146.68:1521     ESTABLISHED
tcp        0      0 192.168.146.68:1521     192.168.146.68:38803    ESTABLISHED
Connect to the Oracle XE Home Page
Oracle is managed via a web interface, which is installed with the oracle-xe package. By default, it listens on the local address 127.0.0.1 at port 8080. Since you most likely do not have a window manager or web browser installed on your Linode, you must connect to your Oracle home page remotely.
You can do this by using our
Oracle SSH tunnel script
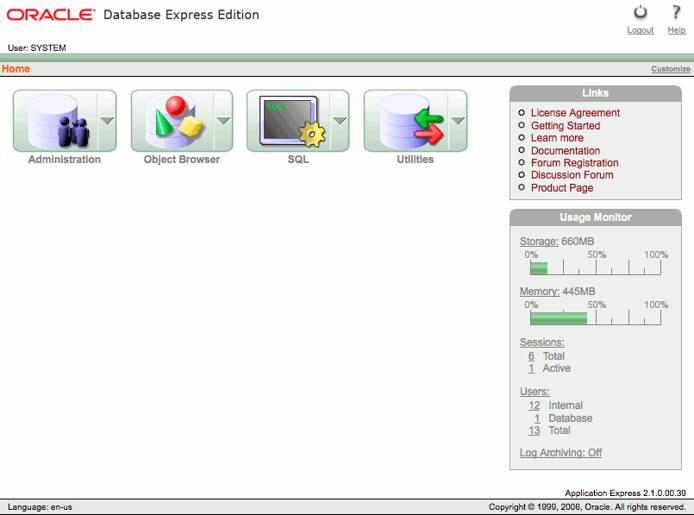
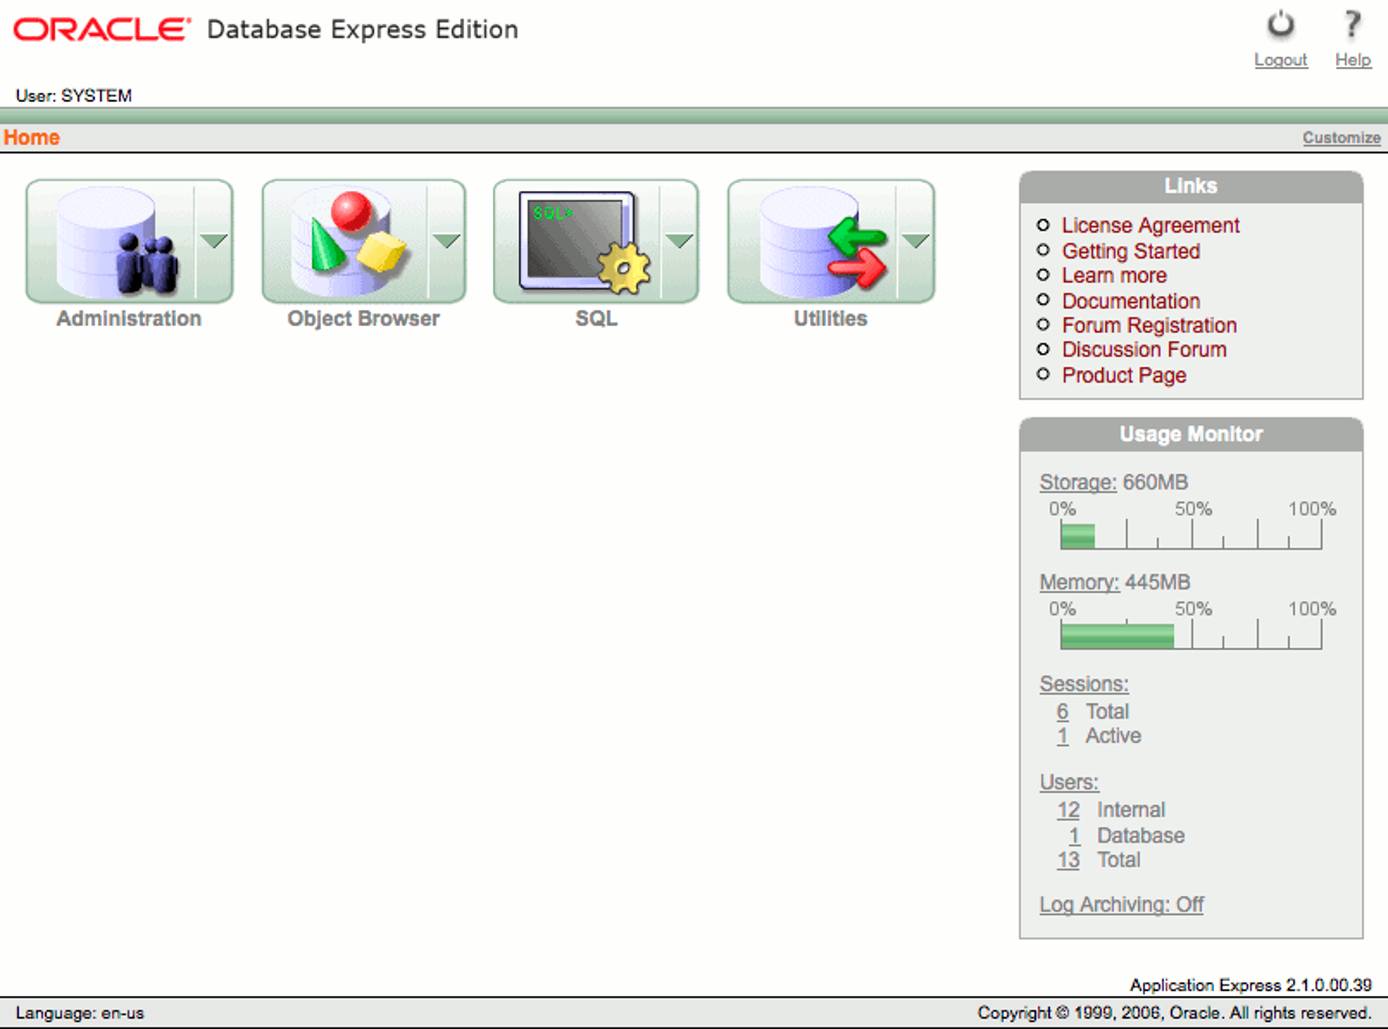
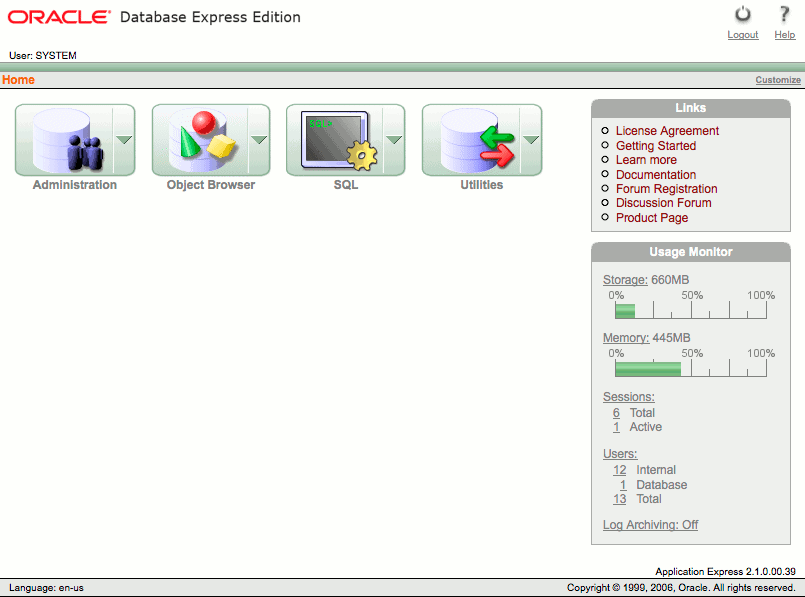
. After your tunnel is started, you can connect to the admin page at the URL http://127.0.0.1:8080/apex. Log in with the username “SYSTEM” and the password you specified during Oracle configuration. You’ll be presented with a page similar to this one:


Manage Oracle from the Command Line
The Oracle XE installation comes bundled with a command line tool called sqlplus, which is roughly equivalent to the MySQL client. We highly recommend using your Oracle XE Home Page over an SSH tunnel to administer your Oracle instance, however you may find sqlplus useful.
First, you’ll need to locate the tnsnames.ora file. Issue the following command:
find / -name tnsnames.ora
You may find more than one location for this file; ignore the version located in a “samples” directory if it’s listed. Edit tnsnames.ora, setting a valid entry for “HOST” to match the one assigned to your Linode’s hostname (“oracle” in our example).
- File: tnsnames.ora
1
2
3
4
5
6
7
XE = (DESCRIPTIONx = (ADDRESS = (PROTOCOL = TCP)(HOST = oracle)(PORT = 1521)) (CONNECT_DATA = (SERVER = DEDICATED) (SERVICE_NAME = XE) )
Next, edit the listener.ora file from the same directory:
- File: listener.ora
1
2
3
4
5
6
7
LISTENER = (DESCRIPTION_LIST = (DESCRIPTION = (ADDRESS = (PROTOCOL = IPC)(KEY = EXTPROC_FOR_XE)) (ADDRESS = (PROTOCOL = TCP)(HOST = oracle)(PORT = 1521)) ) )
If you had to modify either file, restart Oracle by issuing the following command:
/etc/init.d/oracle-xe restart
Next, locate the sqlplus.sh shell script with the following command:
find / -name sqlplus.sh
Once you have located sqlplus.sh, you can use it to start the sqlplus tool. In this example, sqlplus.sh is located in /usr/lib/oracle/xe/app/oracle/product/10.2.0/server/config/scripts/.
/usr/lib/oracle/xe/app/oracle/product/10.2.0/server/config/scripts/sqlplus.sh
Once sqlplus has started, you’ll need to connect to your Oracle XE instance. Issue the following sqlplus command:
CONNECT SYSTEM/yourpassword@oracle
Once you have successfully logged in, you may perform most Oracle tasks and query your databases. Oracle commands and syntax differ from those of MySQL. If you are new to Oracle or come from a MySQL background, we recommend that you read the Oracle getting started guide
to get a better idea of how Oracle commands work and, more importantly, how the Oracle structure is laid out. The exit command will return you to a normal shell prompt.
More Information
You may wish to consult the following resources for additional information on this topic. While these are provided in the hope that they will be useful, please note that we cannot vouch for the accuracy or timeliness of externally hosted materials.
This page was originally published on

