Product docs and API reference are now on Akamai TechDocs.
Search product docs.
Search for “” in product docs.
Search API reference.
Search for “” in API reference.
Search Results
results matching
results
No Results
Filters
Install and Use the duf Command on Linux
Traducciones al EspañolEstamos traduciendo nuestros guías y tutoriales al Español. Es posible que usted esté viendo una traducción generada automáticamente. Estamos trabajando con traductores profesionales para verificar las traducciones de nuestro sitio web. Este proyecto es un trabajo en curso.
Duf is a command-line tool for viewing your system’s disk usage and free space. It combines into one place the information you might otherwise get from the du and df commands and presents that information in a clean and modern interface. In this guide, you learn more about duf, how it compares to the du and df commands, and how to install it on your Linux system.
Before You Begin
If you have not already done so, create a Linode account and Compute Instance. See our Getting Started with Linode and Creating a Compute Instance guides.
Follow our Setting Up and Securing a Compute Instance guide to update your system. You may also wish to set the timezone, configure your hostname, create a limited user account, and harden SSH access.
sudo. If you’re not familiar with the sudo command, see the
Linux Users and Groups
guide.What is duf?
duf gives you a single tool for checking disk usage and free space. By default, Linux systems provide the du and df tools for viewing disk usage and space, respectively, from the command line. Duf presents the same information as du and df and renders it in a modern and easy-to-read command-line display.
Where du and df give you limited control over how information is shown, duf gives you options for sorting, filtering, and otherwise altering the display. You can learn more about du and df in our
How to Check and Clean a Linux System’s Disk Space
guide.
In the following sections, you can see some examples of how duf compares to du and df. Specifically, take a look at the How to Use duf section below to see side-by-side comparisons.
How to Install duf
Visit the duf releases page , find the latest release, and identify the package file appropriate for your machine. Then, copy the URL for the file you identify.
To do this, you need to know your system’s CPU architecture, which you can get via the command below:
lscpu | grep Architecture- For
x86_64(like in the example output below), use a package ending inlinux_amd64from the duf releases page. - For
i386ori686, use a package ending inlinux_386from the duf releases page. - Otherwise, you should generally be able to find a package ending in
linux_followed by your system’s listed architecture.
Architecture: x86_64Use the corresponding package file ending in
.debif you are on a Debian or Ubuntu distribution or a.rpmfile extension if you are on an RHEL distribution like AlmaLinux, CentOS, or Fedora.So, for example, on a Debian system with an x86_64 (AMD64) architecture, use the
duf_0.6.2_linux_amd64.debfile (assuming 0.6.2 is the latest release).- For
Download the package file using the command below. Replace the URL with the one you copied in the step above.
curl -LO https://github.com/muesli/duf/releases/download/v0.6.2/duf_0.6.2_linux_amd64.debInstall duf from the downloaded package. You can use one of the following methods, depending on your Linux distribution. Be sure to replace the example filename with the actual filename of the package file you downloaded.
On Debian and Ubuntu distributions, use the following command:
sudo dpkg -i duf_0.6.2_linux_amd64.debOn AlmaLinux, CentOS, and Fedora, use the following command:
sudo rpm -i duf_0.6.2_linux_amd64.rpm
Verify your installation by checking the installed version of duf.
duf --versionduf 0.6.2 (d1d2865)
How to Use duf
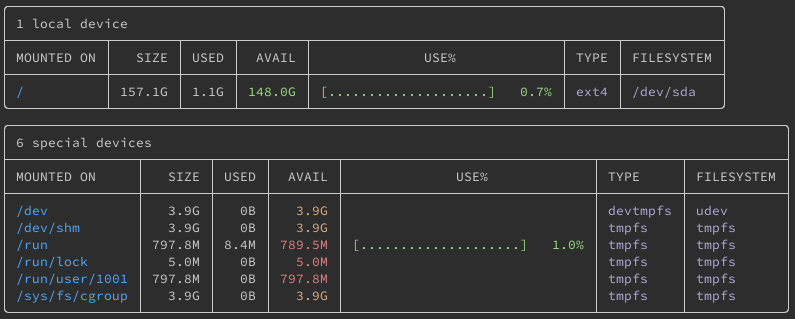
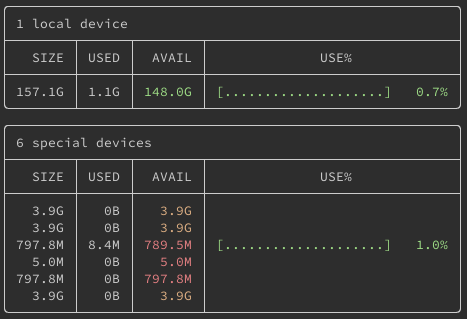
For basic usage, you can just run the duf command alone, and you should see an output similar to the following:

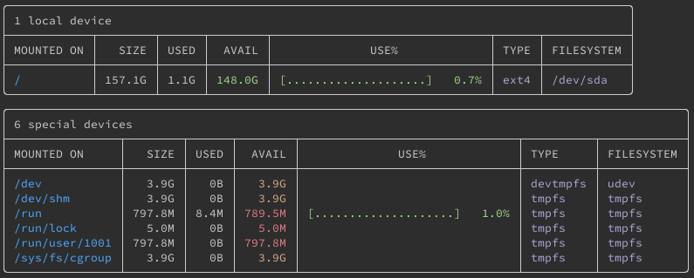
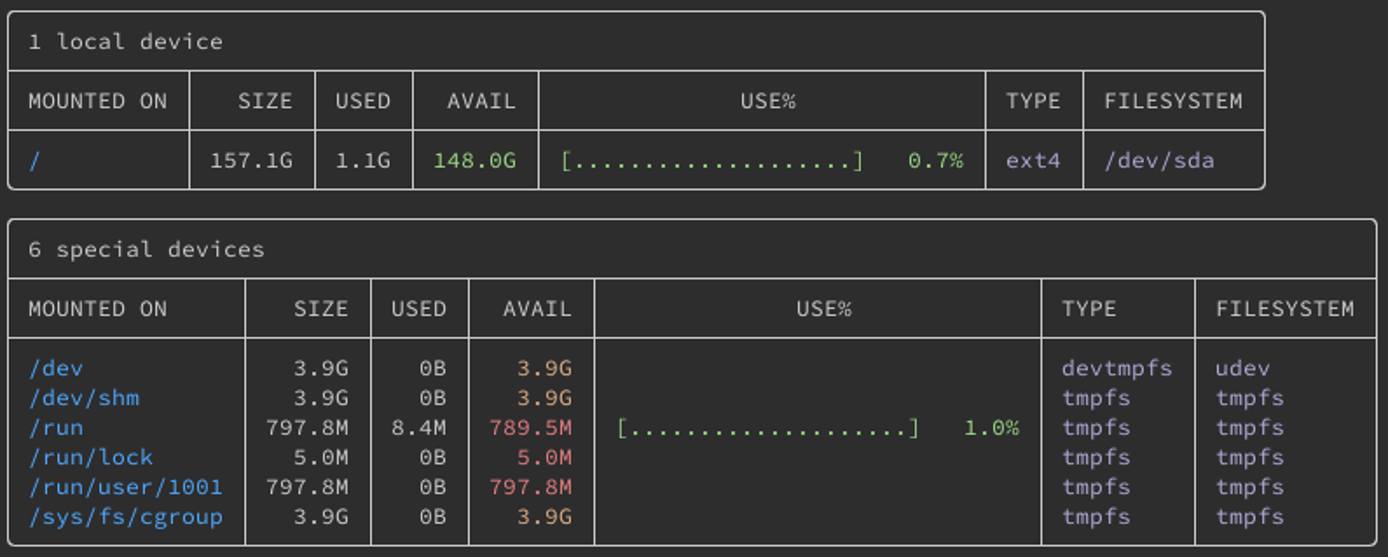
This provides roughly the equivalent of the sudo df -h command, as you can see from the output below:
Filesystem      Size  Used Avail Use% Mounted on
udev            3.9G     0  3.9G   0% /dev
tmpfs           798M  8.4M  790M   2% /run
/dev/sda        158G  1.1G  149G   1% /
tmpfs           3.9G     0  3.9G   0% /dev/shm
tmpfs           5.0M     0  5.0M   0% /run/lock
tmpfs           3.9G     0  3.9G   0% /sys/fs/cgroup
tmpfs           798M     0  798M   0% /run/user/1001
You can use a command like sudo du / -sh to get local drive usage alone.
1.1G /Notice that, compared to the du and df commands, duf makes the information much easier to read, separating information by device type and clearly demarcating fields.
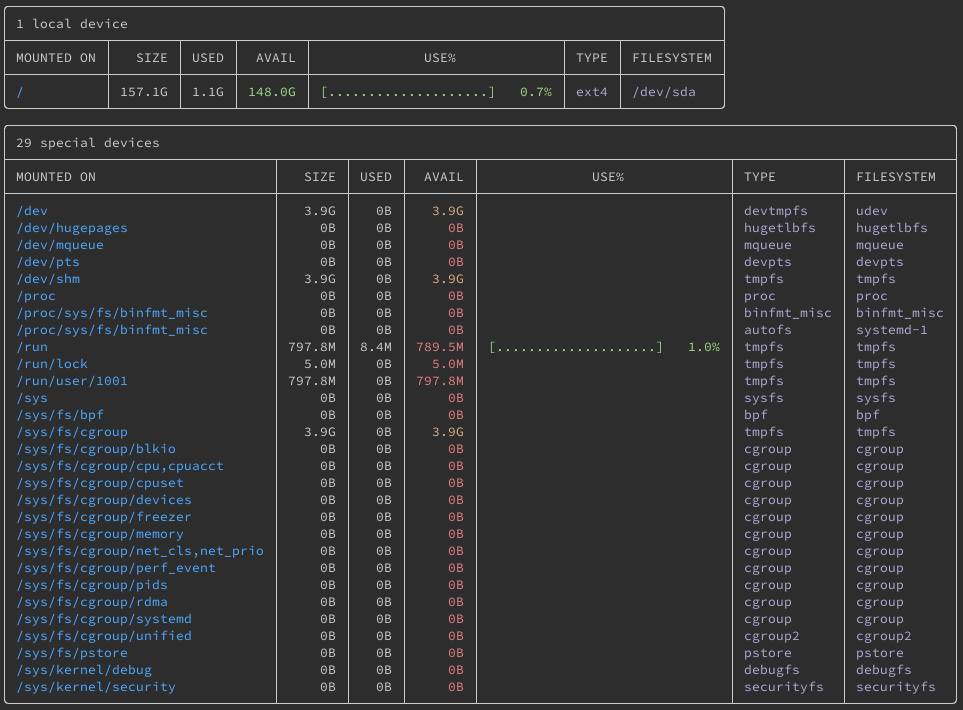
You can go even deeper with duf, listing information for pseudo, duplicate, and inaccessible devices as well.
duf --all

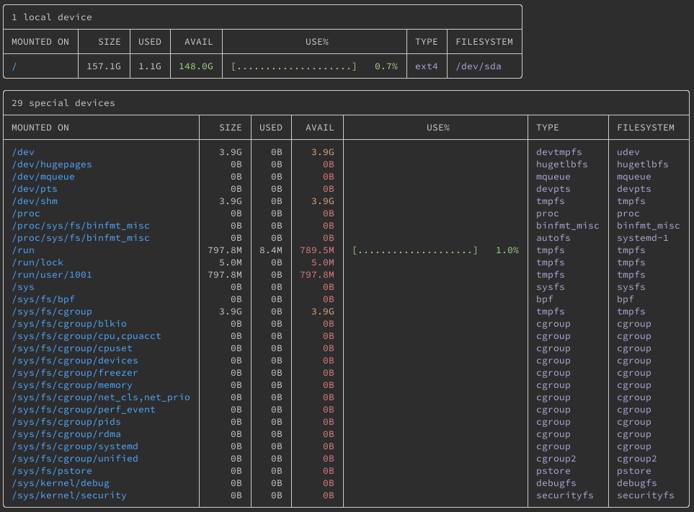
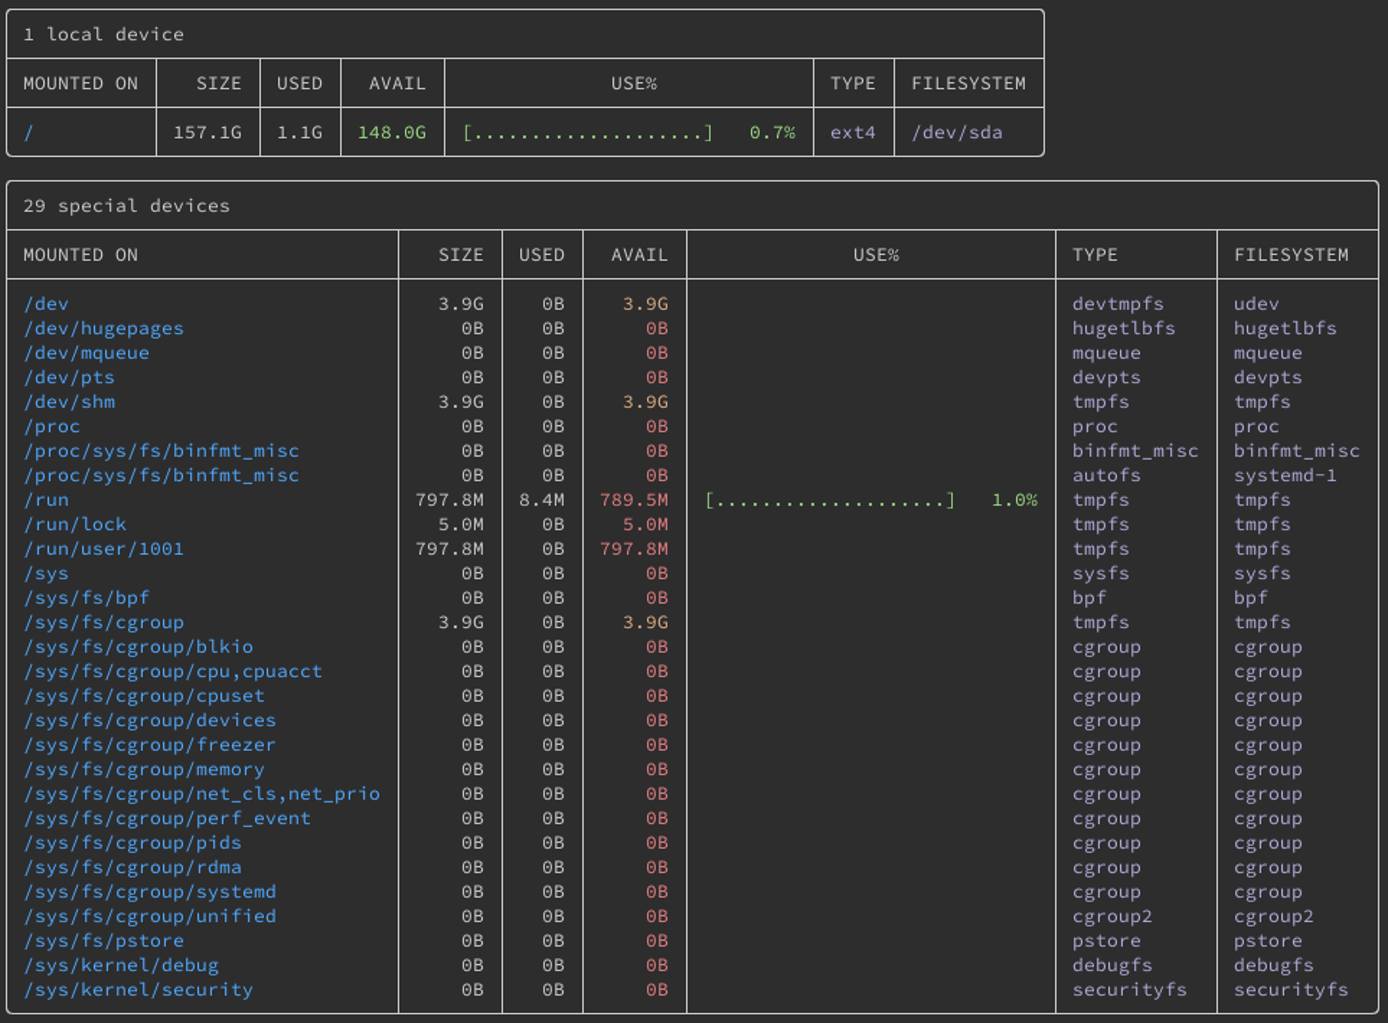
Duf gives an array of additional options to let you control what information you see. You can see the examples of these options presented in the following sections.
Limit Results by Path
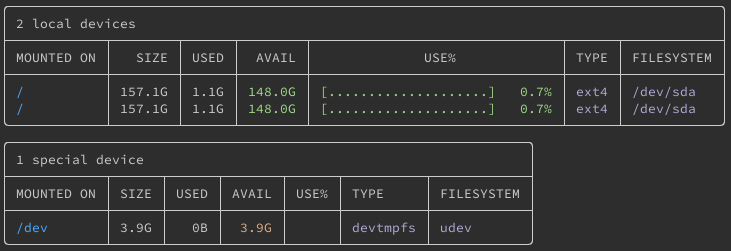
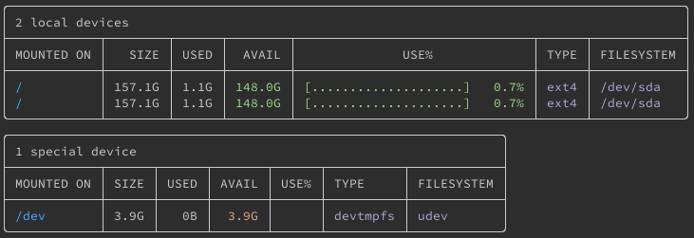
You can limit your results by passing one or more paths to the duf command, separated by spaces. For each path, duf includes an entry for the relevant device, and all non-matching devices are excluded from the output.
The example below gives duf three paths. Notice that the output has three entries, each corresponding to a device for one of the input paths.
duf /dev /etc/opt /var/log

Sorting and Arranging
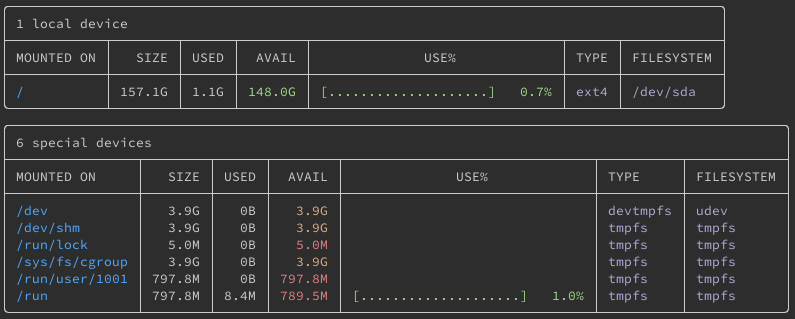
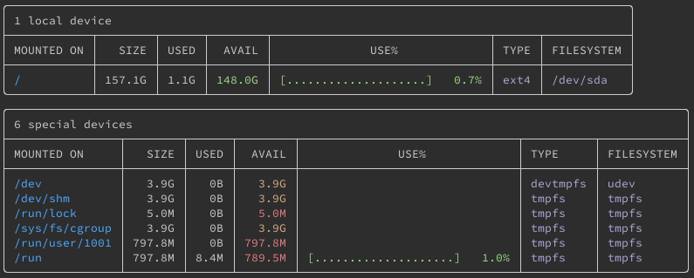
Duf allows you to define how its displayed tables should be sorted, via the --sort option. You can sort by avail, filesystem, inodes, inodes_avail, inodes_usage, inodes_used, mountpoint, size, type, usage, or used.
Below is an example sorting the tables by used:
duf --sort used

Similarly, duf allows you to define what columns you want to show in each table, by way of the --output option. This option accepts the same set of columns used for sorting (above), and you can list multiple columns as a comma-separated list (no spaces).
Below is an example that produces tables with device size, available space, used space, and usage percentage.
duf --output size,avail,used,usage
Filtering
Duf gives you two options for filtering out devices.
You can filter by display table using the
--onlyand--hideoptions. Duf displays devices in one of six tables, based on the kinds of devices:local,network,fuse,special,loops, andbinds.So, to show only devices included in the
localandnetworktables, use the following command:duf --only local, networkSimilarly, to exclude devices included in the
fuse,loops, andbindstables, use the following command:duf --hide fuse,loops,bindsYou can filter by devices’ file systems using the
--only-fsand--hide-fsoptions.To show only devices with
tmpfsfile systems, for instance, use the following command:duf --only-fs tmpfs
Export to JSON
Duf also supports exporting your results in a JSON format. This export option allows the output to be easily used in custom applications.
duf --json
[
 {
  "device": "sysfs",
  "device_type": "special",
  "mount_point": "/sys",
  "fs_type": "sysfs",
  "type": "sysfs",
  "opts": "rw,nosuid,nodev,noexec,relatime",
  "total": 0,
  "free": 0,
  "used": 0,
  "inodes": 0,
  "inodes_free": 0,
  "inodes_used": 0,
  "blocks": 0,
  "block_size": 4096
 },
 [...]
Conclusion
Duf makes an easy and capable everyday replacement for du and df, with its quick and clear presentation and much wider range of features. You can learn more about duf, and a few more options it offers, on its official GitHub page .
This page was originally published on

