Product docs and API reference are now on Akamai TechDocs.
Search product docs.
Search for “” in product docs.
Search API reference.
Search for “” in API reference.
Search Results
results matching
results
No Results
Filters
Basic Postfix Email Gateway on Ubuntu 10.10 (Maverick)
- Deprecated guides:
- Ubuntu 10.04
- Debian 6
- Debian 5
Traducciones al EspañolEstamos traduciendo nuestros guías y tutoriales al Español. Es posible que usted esté viendo una traducción generada automáticamente. Estamos trabajando con traductores profesionales para verificar las traducciones de nuestro sitio web. Este proyecto es un trabajo en curso.
DeprecatedThis guide has been deprecated and is no longer being maintained.
Postfix is an efficient, stable, and modern Mail Transfer Agent, or “MTA”, used for transmitting email messages between severs on the Internet. Most configurations involving Postfix combine the MTA with a server to allow users to download email using a protocol like IMAP or POP3. This document outlines a very simple configuration of Postfix that makes it possible to forward email, and deliver email to local mailboxes on your Linode instance. This guide does not provide any way to download this email or remotely access these mailboxes. In addition, this document provides instructions for sending email with this configuration. If you want to deploy a complete and fully featured email solution that includes the ability download locally delivered email, consider one of our other postfix email guides .
Prior to beginning this document to install a basic Postfix email gateway, it is assumed that you have completed our Setting Up and Securing a Compute Instance . If you are new to Linux server administration, you may be interested in our introduction to Linux concepts guide , beginner’s guide and administration basics guide .
Set the Hostname
Before you begin installing and configuring the components described in this guide, please make sure you’ve followed our instructions for setting your hostname . Issue the following commands to make sure it is set properly:
hostname
hostname -f
The first command should show your short hostname, and the second should show your fully qualified domain name (FQDN).
Installing Postfix
Before we begin to install the basic email gateway, issue the following commands to ensure that your system is up to date and that the latest version of the package repository has been installed:
apt-get update
apt-get upgrade
To install the Postfix MTA issue the following command:
apt-get install postfix
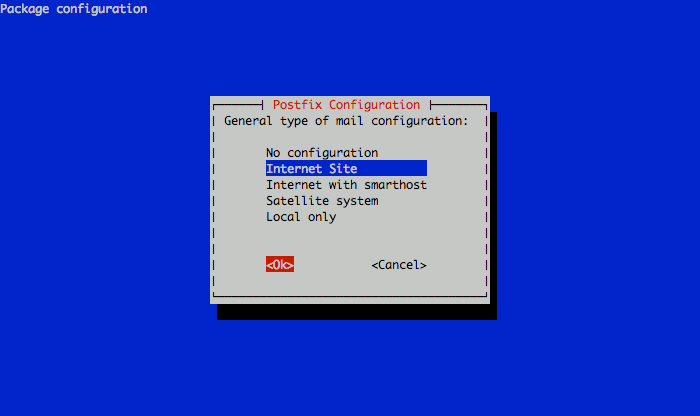
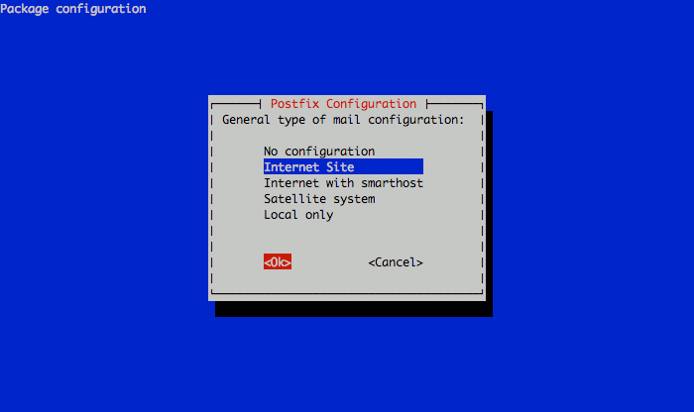
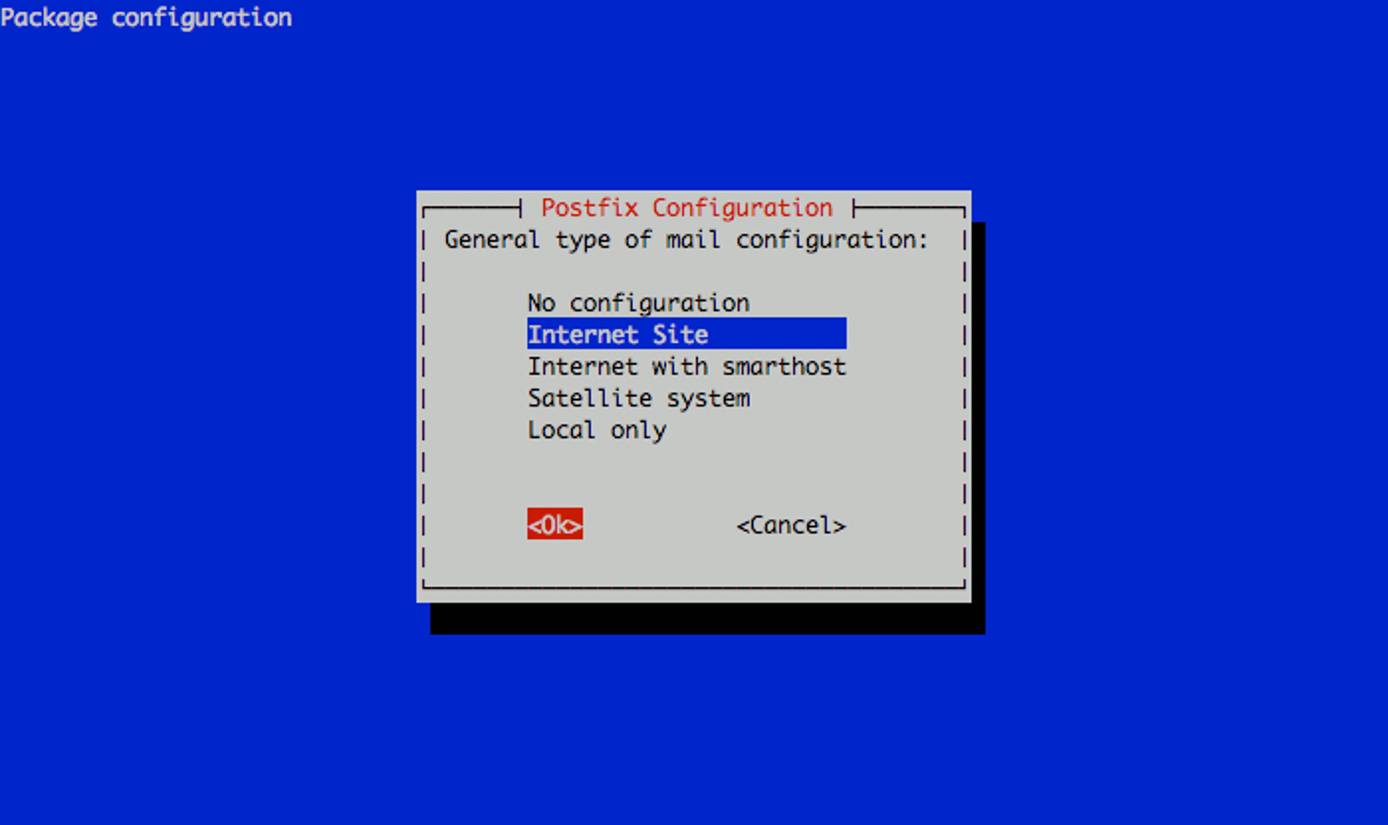
During the installation process, the package manager will prompt you for the responses to a few questions. To the first question regarding the type of mail server you want to configure select “Internet Site” and continue as in the following image:

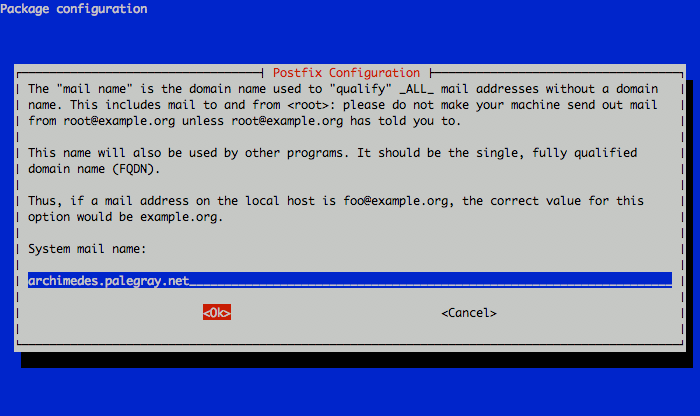
The next prompt will ask for the system mail name. This should correspond to the fully qualified domain name (FQDN) that points to your Linode’s IP address. In this example, we’re using a machine specific hostname for our server. Set the reverse DNS for your Linode’s IP address to the fully qualified domain name you assign as the system mail name. You will be able to send mail from additional domains as configured later in this document. See the following example:

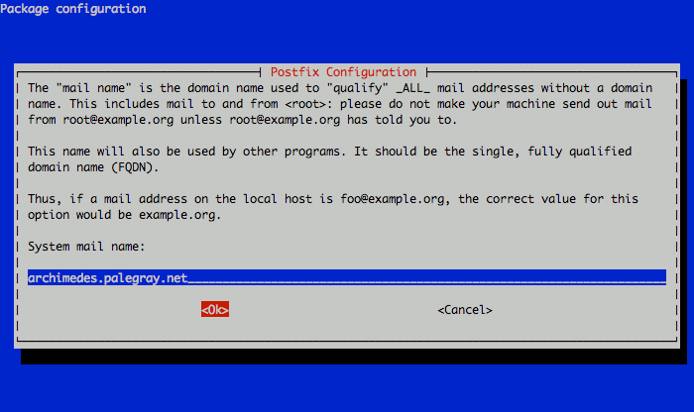
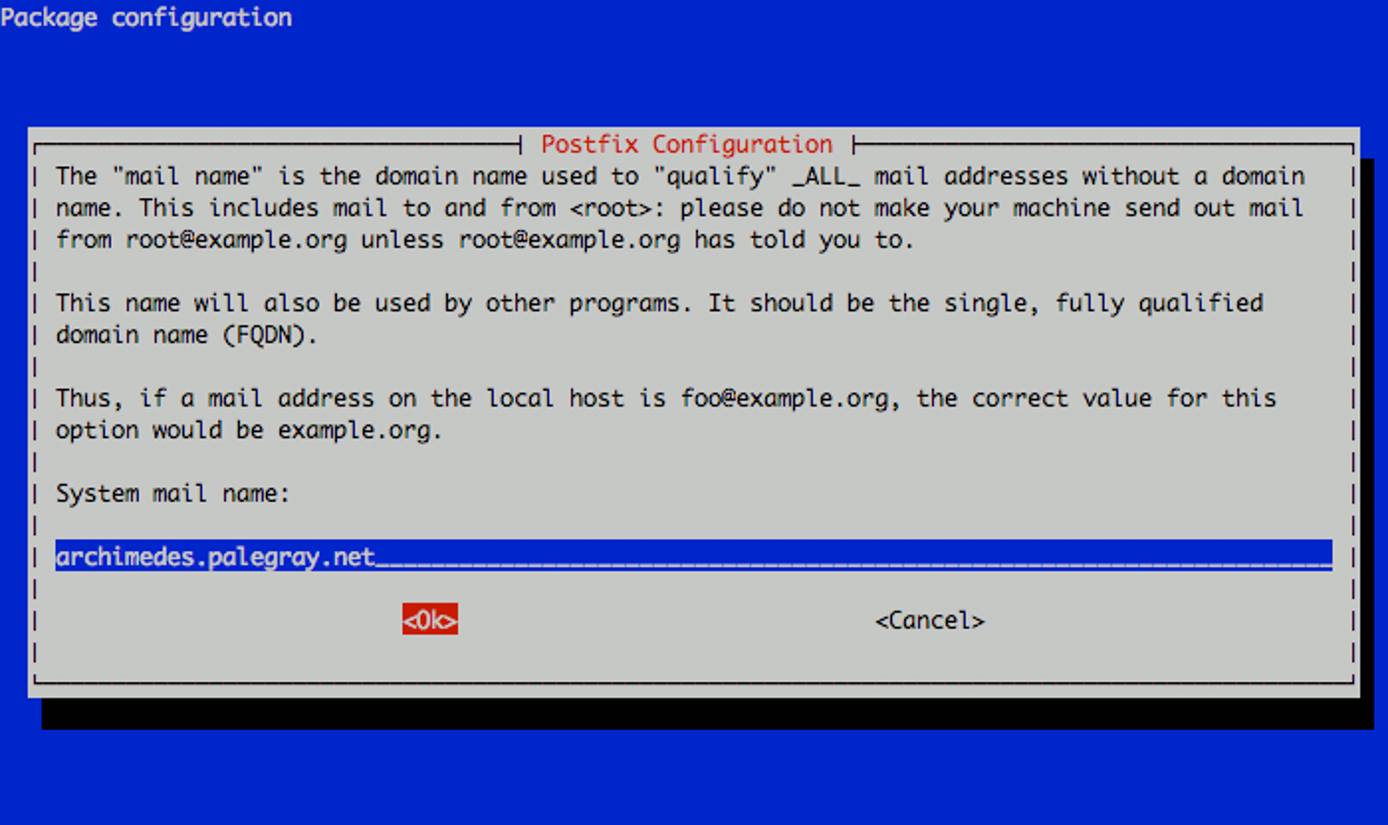
When the installation process completes proceed with the configuration of Postfix.
Fundamental Postfix Configuration
Begin by editing the /etc/postfix/main.cf file. Most of the default values should be correct. Modify the myhostname value to correspond to the fully qualified domain name (FQDN) for your server, in this case lollipop.example.com:
- File: /etc/postfix/main.cf
1myhostname = lollipop.example.com
Add the following lines to your configuration file. This configures postfix for virtual hosting:
- File: /etc/postfix/main.cf
1
2
virtual_alias_maps = hash:/etc/postfix/virtual home_mailbox = mail/
Furthermore, this ensures that the domains listed in mydestination do not conflict with the address that you will receive or forward email with. The home_mailbox value determines the name of the folder where email messages are delivered when local delivery is configured. For the user username with a home directory of /home/username/ new mail would be delivered in a Maildir directory located at /home/username/mail/. When you’ve completed this configuration, issue the following command to reload the mail server:
/etc/init.d/postfix reload
In the future, if you want to stop, start, or restart Postfix, issue the correct command from the following:
/etc/init.d/postfix stop
/etc/init.d/postfix start
/etc/init.d/postfix restart
Email Virtual Hosting
Configure Mail Delivery
Once Postfix is properly configured, edit the /etc/postfix/virtual file to configure virtual hosting for your mail gateway. This provides instructions for the mail agent with regards to processing email that it receives. Prior to beginning, ensure that you have properly configured DNS to direct email to your mail gateway. Create an “A Record” for the machine specific domain name that corresponds to your myhostname FQDN (e.g. lollipop.example.com). Then, ensure that there are MX records for all domains that you want to process with this mail gateway pointed to that FQDN. Consider the following example /etc/postfix/virtual file:
- File: /etc/postfix/virtual
 1
 2
 3
 4
 5
 6
 7
 8
 9
10
11
12
13
14
15
admin@example.com example foreman@example.com example username@example.com username username@example.net username username@example.com username jim@example.com jim@chartercast.net ted@example.com ted@chartercast.net jay@example.com jay@chartercast.net lollipop@example.com stacy@morris.net, username jockey@example.com username, example @oddington.com oddington
In this example there are a number of addresses in the example.com domain forwarded to the example system user account. In the next group, a collection of emails at different domains beginning with the username name, are all forwarded to the username system user group. Finally, a number of email addresses at the example.com domain are forwarded to external addresses at the fictitious chartercast.net domain. The next two email addresses are directed to multiple sources: lollipop@example.com mail is delivered to the local username user as well as the external email address stacy@morris.net, while jockey@example.com is delivered to the local system users username and example. Finally all messages sent to addresses within the oddington.com domain are forwarded to the mailbox for the oddington user.
When you’ve successfully edited your /etc/postfix/virtual file to ensure the proper delivery of your email, issue the following command to rebuild the virtual alias database:
postmap /etc/postfix/virtual
This will compile a database located at /etc/postfix/virtual.db. Every time that you modify the /etc/postfix/virtual file, run the above postmap command. Before Postfix can apply the changes that you’ve made and compiled, you will need to reload the server:
/etc/init.d/postfix reload
Reload the server after compiling a new virtual.db every time. Mail will now be delivered in accordance with the specification in the /etc/postfix/virtual file.
Create Mail Directories
Issue the following command to ensure that newly created user accounts have a ~/mail directory:
mkdir /etc/skel/mail/
Every existing user that receives email will also need to make their own Maildir, by issuing the following command:
mkdir ~/mail/
Sending Email Securely
Typically, authentication for sending email is handled by the daemon that’s configured to handle email downloading like Courier or Dovecot. Rather than configure another daemon or deploy a potentially convoluted and difficult to administer authentication system, this guide uses the OpenSSH package that is installed and active on Linodes by default.
Save the following script in the /opt directory on the system you wish to send email from:
- File: /opt/smtp-tunnel
 1
 2
 3
 4
 5
 6
 7
 8
 9
10
11
12
13
14
15
16
17
18
19
20
21
22
23
24
25
26
27
28
29
30
31
32
33
34
35
36
37
38
39
40
41
42
43
44
45
46
47
48
49
50
51
52
53
54
55
56
57
58
59
60
61
62
63
64
65
#!/usr/bin/perl # A SMTP-over-SSH Port Forwarding Script # Copyright (c) 2010 Linode, LLC # Author: Philip C. Paradis <pparadis@linode.com> # Modifications: Linode <sam@linode.com> # Usage: smtp-tunnel [start|stop] # Forward smtp traffic over ssh to a remote mailserver. ## Edit these values to reflect the authentication credentials for the ## SMTP server with which you wish to connect and send mail. If you ## have chosen to run your mailserver on your linode using an ## alternate port, modify the `$remote_port` value. You should not ## need to modify the `$remote_ip` value. $remote_user = "REMOTE-USER"; $remote_host = "REMOTE-HOST"; $remote_port = "25"; $remote_ip = "127.0.0.1"; ## Modify these values if you are running a local SMTP server on port ## 25, or if you need to start the tunnel as a non-root user, as ## OpenSSH only allows root users to start tunnels to low-numbered ## "privileged ports." If this is the case you will also need to ## modify the configuration of your local mail sending agent. $local_ip = "127.0.0.1"; $local_port = "25"; ## You do not need to edit this file beyond this point. ###################################################################### $a = shift; $a =~ s/^\s+//; $a =~ s/\s+$//; $pid=`ps ax|grep ssh|grep $local_port|grep $remote_port`; $pid =~ s/^\s+//; @pids = split(/\n/,$pid); foreach $pid (@pids) { if ($pid =~ /ps ax/) { next; } split(/ /,$pid); } if (lc($a) eq "start") { if ($_[0]) { print "smtp-tunnel already running.\n"; exit 1; } else { system "ssh -f -L $local_ip:$local_port:$remote_ip:$remote_port $remote_user\@$remote_host -N"; exit 0; } } elsif (lc($a) eq "stop") { if ($_[0]) { kill 9,$_[0]; exit 0; } else { exit 1; } } else { print "Usage: smtp-tunnel [start|stop]\n"; exit 1; }
Edit this file to include your username and the location of your email gateway. If you can run this script as root on your local system or the system you want to send mail from, it is easiest to leave $local_port set to 25, otherwise use an alternate port like 2525 or 2255. When you’ve completed these operations run the following commands to make this script executable and start the tunnel:
cd /opt/
chmod +x /opt/smtp-tunnel
/opt/smtp-tunnel start
You may want to consider issuing the command to start the tunnel (/opt/smtp-tunnel start) as part of your boot script by including it in your /etc/rc.local file, or by creating a @reboot
cron job
. If your network configuration utility allows you to establish pre- and post-connection scripts, you may want to instantiate and destroy the tunnel during this process. To destroy the tunnel, issue the following command:
/opt/smtp-tunnel stop
When the tunnel is active, you will be able to configure your local mail sending agent to send using the SMTP server “localhost” and port 25, or the alternate $local_port you configured. To configure the msmtp mail sending agent on an Mac OS X or Linux-based system consider the following configuration file:
- File: ~/.msmtprc
1
2
3
4
5
6
7
8
9
account default host localhost from username@example.com port 25 account alternate host localhost from foreman@example.com port 2525
Depending on the location of the msmtp binary, you can now send mail using /usr/bin/msmtp as your send mail interface. To send mail from the alternate account, specify the sendmail interface as /usr/bin/msmtp --account=alternate. You can now send mail using your mail gateway using an SSH tunnel.
More Information
You may wish to consult the following resources for additional information on this topic. While these are provided in the hope that they will be useful, please note that we cannot vouch for the accuracy or timeliness of externally hosted materials.
This page was originally published on

